A kitchen pantry cabinet is one of the most functional and valuable additions you can make to your kitchen. Whether you have limited storage or just want to organize your space more efficiently, building a custom pantry can help you maximize storage while adding a touch of style to your kitchen and The best part is You can build it yourself!
In this Blog, we’ll walk you through the process of building a kitchen pantry cabinet from scratch. Even if you’re new to DIY, this project can be done with some basic tools, patience, and creativity.
Table of Contents
Why Build a Kitchen Pantry Cabinet?
Building your own kitchen pantry cabinet has many benefits, including:
Custom Size: You can design the pantry to fit perfectly in your kitchen, no matter the available space.
Personalized Design: Choose materials, colors, and styles that complement your kitchen’s decor.
Cost-Effective: By building it yourself, you can save a significant amount of money compared to purchasing a pre-made pantry.
Maximized Storage: Custom shelving and compartments help you organize your kitchen supplies, groceries, and even small appliances efficiently.
Now, let’s get started with the step-by-step process!
Materials and Tools You Will Need
Before jumping into the building process, gather these essential materials and tools:
The first step in building your kitchen pantry cabinet is to create a design that fits your space and needs. Measure the area where the pantry will go and decide on the height, width, and depth of the cabinet. Consider how many shelves you want, how deep they should be, and if you want any specific compartments for things like spices or larger appliances.
Sketch a Blueprint
Draw a simple sketch of your pantry cabinet with all dimensions marked. Having a blueprint will help you during the building process and ensure that everything fits together correctly.
Determine Door Type
Decide if you want full cabinet doors, sliding doors, or no doors at all. You can buy pre-made cabinet doors or build your own using the same materials as the rest of the pantry.
Credit-You Tube/The Weekend Builder
Step 2: Cut the Wood Pieces
Using your measurements, cut the plywood or MDF sheets for the sides, top, bottom, and shelves of your pantry cabinet. If you don’t have a table saw, most hardware stores can make cuts for you based on your measurements.
Pro Tips for Cutting:
Use a circular saw guide to ensure straight cuts.
Sand down the edges of the wood to remove any rough spots.
Step 3: Assemble the Pantry Frame
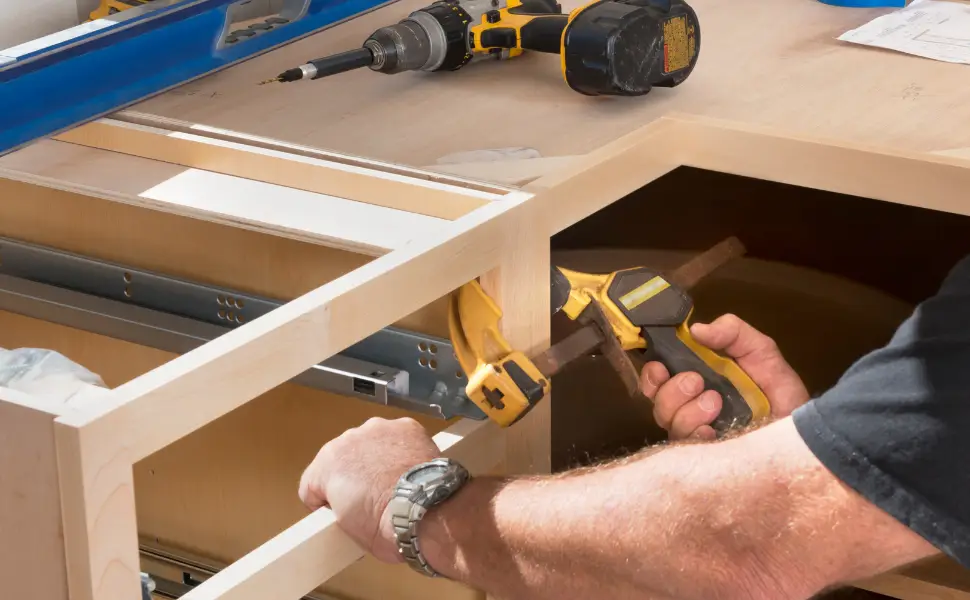
Start assembling the main frame of the kitchen pantry cabinet. Use wood glue to attach the sides to the top and bottom panels, and reinforce with screws for a sturdy build. While the glue cures, use clamps to keep the pieces together.
Check for Stability
Before moving on, ensure that the frame is square and stable by using a level. Adjust any misalignments before the glue dries.
Step 4: Install the Shelves
Decide on the spacing for your shelves based on what you’ll be storing. Attach shelf supports or brackets to the inside of the cabinet at your desired heights, then place the shelves in position. Secure them with screws or wood glue for added strength.
Adjustable Shelves Option
If you want flexibility, you can install adjustable shelf brackets to allow for rearranging shelf heights later on.
Step 5: Attach the Back Panel
Cut a piece of plywood or MDF for the back panel of your pantry. Attach it using wood glue and nails or screws. This panel will provide additional stability and help square the entire structure.
Step 6: Add Cabinet Doors
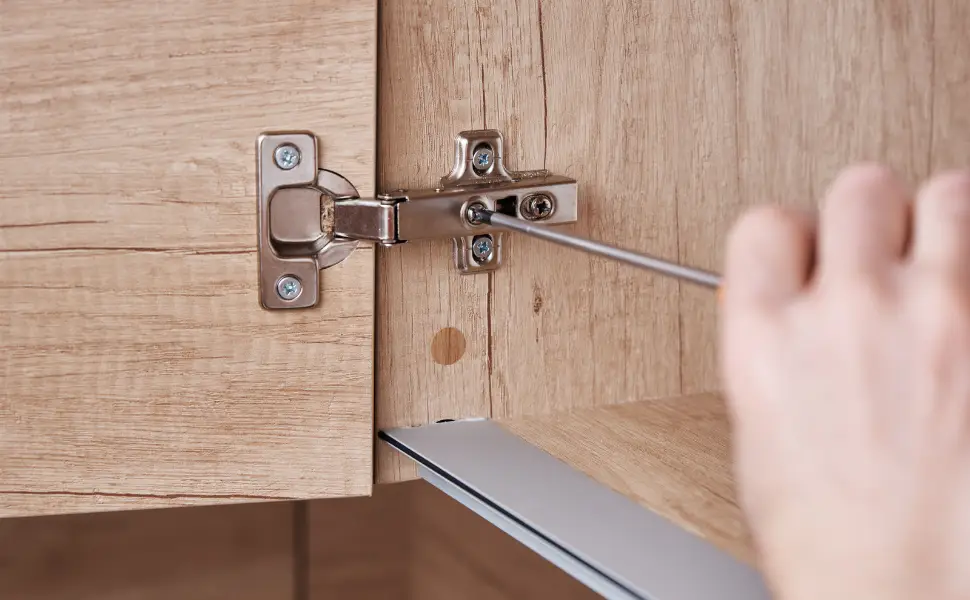
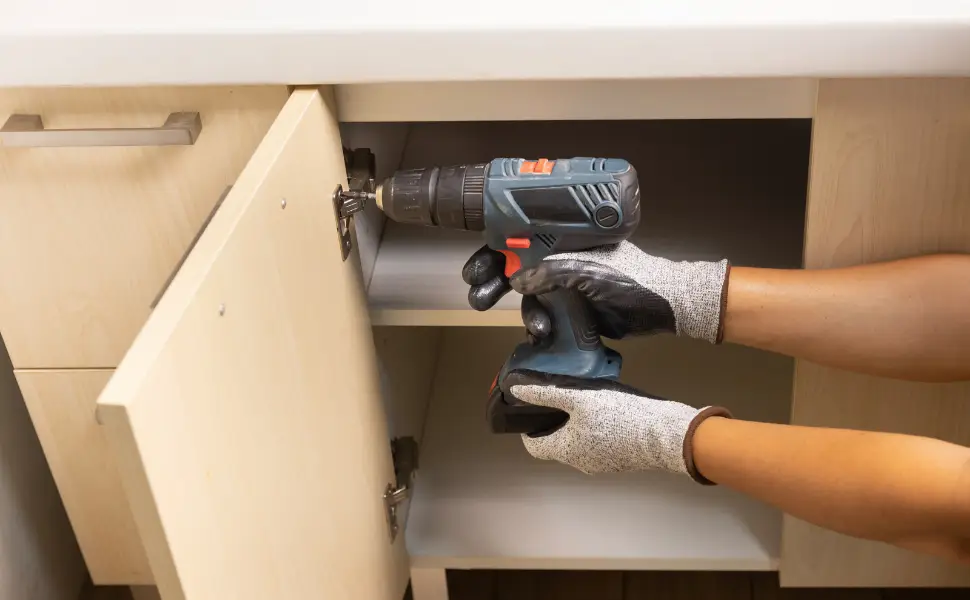
If you’ve opted for cabinet doors, now is the time to install them. Attach the hinges to the doors and secure them to the frame of the pantry.
Alignment Tip:
Use a level to make sure the doors are hung evenly. Adjust the hinges if necessary to get the perfect fit.
Step 7: Sand and Finish the Pantry
Once your kitchen pantry cabinet is fully assembled, sand down the entire structure to smooth any rough edges or surfaces. After sanding, you can choose to paint, stain, or leave the wood in its natural finish.
Finishing Options:
Paint: Choose a color that complements your kitchen’s decor.
Stain: A wood stain will enhance the natural beauty of the wood grain.
Natural: Simply seal the wood with a protective finish to showcase its raw look.
Step 8: Install the Pantry in Your Kitchen
Once the pantry is complete, it’s time to install it in your kitchen. Use a stud finder to locate the wall studs, and securely fasten the pantry to the wall using screws or brackets.
Step 9: Add the Finishing Touches
Now that your pantry is in place, you can add the final touches. Install cabinet handles or knobs, and if needed, add shelf liners to protect your shelves from spills and stains. Organize your pantry items, and you’re all set!
Maintenance Tips for Your Kitchen Pantry Cabinet
To ensure your pantry stays in good shape, here are a few maintenance tips:
Regular Cleaning: Wipe down the shelves and doors regularly to keep dust and grime away.
Inspect for Damage: Check the hinges and screws periodically to ensure everything remains secure.
Repaint or Restain: Over time, your pantry may need a fresh coat of paint or stain to maintain its appearance.
Conclusion
Building a kitchen pantry cabinet is a rewarding DIY project that can greatly enhance your kitchen’s functionality and style. By customizing the size, design, and materials, you can create a pantry that perfectly fits your space and storage needs. Whether you’re a DIY beginner or an experienced builder, following these steps will help you create a beautiful and practical addition to your kitchen.
Not only will your new pantry cabinet provide ample storage, but it will also help keep your kitchen organized, making meal prep and cooking more enjoyable. So, roll up your sleeves and start building your perfect pantry today!
Affiliate Disclosure
This article may contain affiliate links. If you make a purchase through these links, We may earn a small commission at no additional cost to you. This helps support my blog and allows Us to continue providing valuable content. I only recommend products that I genuinely believe will be helpful to our readers. Thank you for your support!