How to Use a Panini Press
Its is a versatile kitchen gadget that can transform ordinary sandwiches into mouthwatering delights. But beyond sandwiches, it can also be used to grill vegetables, cook meats, and much more. In this guide, we will walk you through how to use a panini press effectively, how to clean it, and compare some of the best options available on the market.
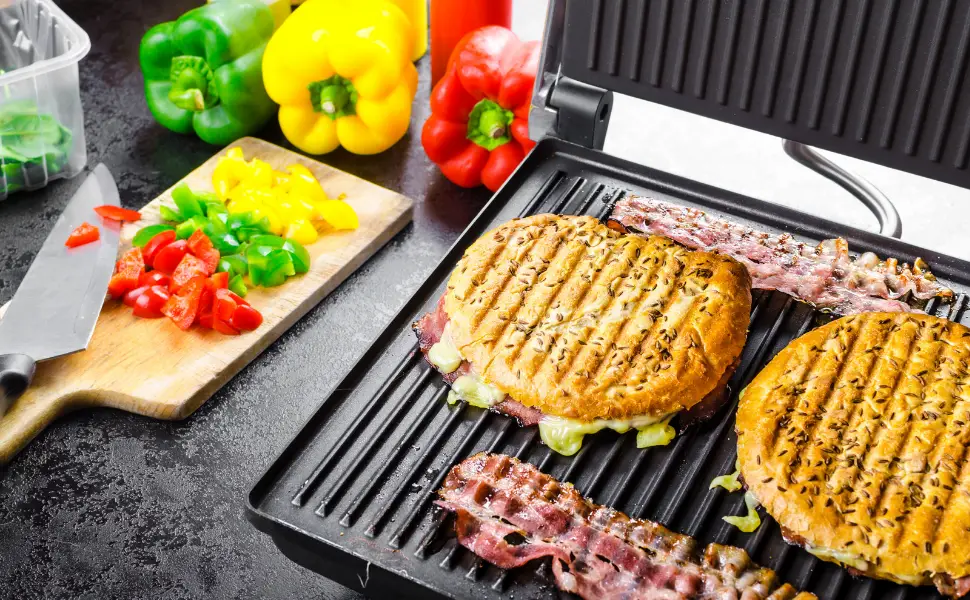
What is a Panini Press?
A panini press is a type of kitchen appliance used to grill or toast sandwiches, quesadillas, and other foods. It consists of two heated plates that press the food, cooking both sides simultaneously and leaving attractive grill marks. The versatility of this gadget makes it a must-have for any kitchen, especially for those who love crispy, hot sandwiches.
Table of Contents
How to Use a Panini Press
Using is easy, but a few tips can ensure the best results every time. To get you started, follow this step-by-step guide:
- Preheat the Press
Before placing your sandwich or food on , it’s important to preheat the appliance. Most presses will have an indicator light that tells you when it’s ready to use. Preheating ensures that your food cooks evenly and you achieve the desired grill marks. - Prepare Your Ingredients
Whether you’re making a classic panini or grilling some vegetables, be sure to prepare your ingredients. Butter the outside of your bread to get a crispy finish or brush a little oil on your veggies to enhance the flavor. - Place the Sandwich on the Grill
Carefully place your sandwich or food on the grill. Use the floating lid (if your press has one) to adjust the height according to the thickness of the food. The top plate should rest gently on the food, without squashing it. - Grill Until Ready
Depending on the food you’re grilling, the cooking time may vary. Most sandwiches are prepared in three to five minutes.For thicker items like meats or vegetables, you may need a little more time. Keep an eye on the food to prevent overcooking. - Remove the Food and Serve
Once your food is perfectly grilled, carefully remove it from the press using a spatula. Serve hot and enjoy your delicious, homemade meal.
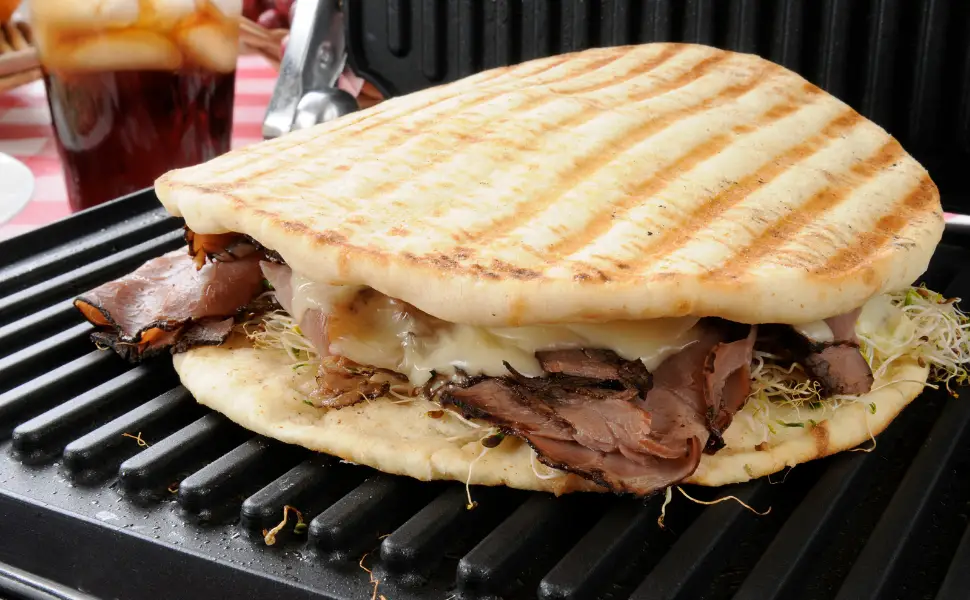
How to Clean a Panini Press
Cleaning it properly after each use is essential for maintaining its performance and ensuring your food stays hygienic Here’s how to clean it:
- Unplug and Let It Cool
Before cleaning , unplug it and let it cool down. Cleaning a hot press can be dangerous and damage the non-stick coating. - Remove Excess Food and Crumbs
Once the press is cool, use a soft cloth or sponge to remove any food particles or crumbs left behind. To avoid scratching the non-stick surface, do not use metal utensils. - Wipe Down the Plates
For non-removable plates, dampen a soft cloth with warm soapy water and wipe down the grill plates. For presses with removable plates, you can take them out and wash them separately in the sink or dishwasher, depending on the manufacturer’s instructions. - Clean the Exterior
Don’t forget to wipe down the exterior to remove any grease or food splatters. Use a damp cloth with mild detergent, and then wipe it dry with a clean towel. - Store Properly
Once everything is clean and dry, store your panini press in a cool, dry place. If it has a locking lid, engage it to save space in your kitchen.
Best Panini Press Comparison
When it comes to choosing the best , there are several great options available, each offering unique features. Let’s dive into a detailed comparison of the top models in the market.
1. Breville Panini Press
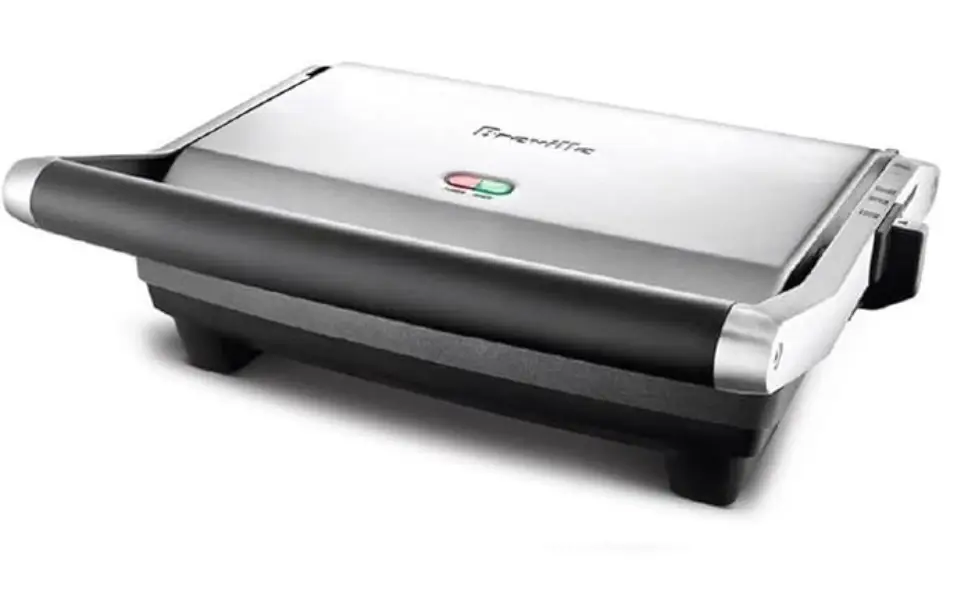
- Features: Nonstick, scratch-resistant Quantanium cooking surface, flat bottom plate for fast cooking, ribbed top plate for grill marks, floating hinge with 4 height settings
- Pros: Durable stainless steel housing, easy to clean, compact storage design
- Cons: Limited cooking space
- Best For: Quick sandwiches and everyday use
2. Cuisinart Electric Griddler
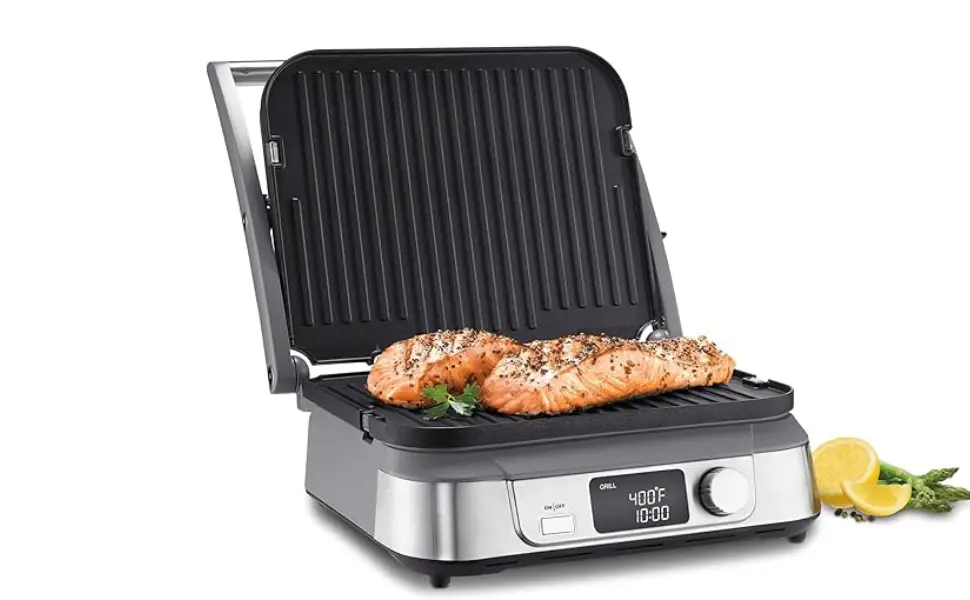
- Power : 5-in-1 functionality (panini press, full grill, full griddle, contact grill)
- Features : LCD display, adjustable temperature from 175 to 450°F, removable dishwasher-safe nonstick plates
- Pros : Highly versatile, user-friendly digital controls, easy cleanup
- Cons : Takes up more counter space due to its size
- Best For : Versatile cooking and advanced functionality
3. Hamilton Beach Panini Press
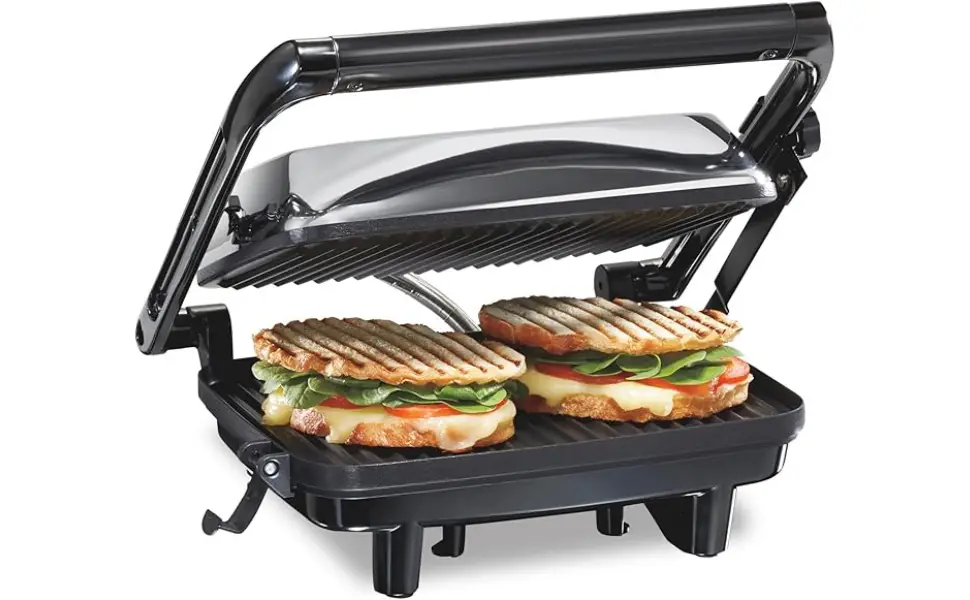
- Power : 8 x 10 non stick grids
- Features : Floating lid, opens 180 degrees, upright storage, built-in ready light
- Pros : Compact and affordable, café-style floating lid
- Cons: Lacks advanced features like temperature control
- Best For: Budget-friendly, basic panini press
4. Taylor Swoden Panini Press
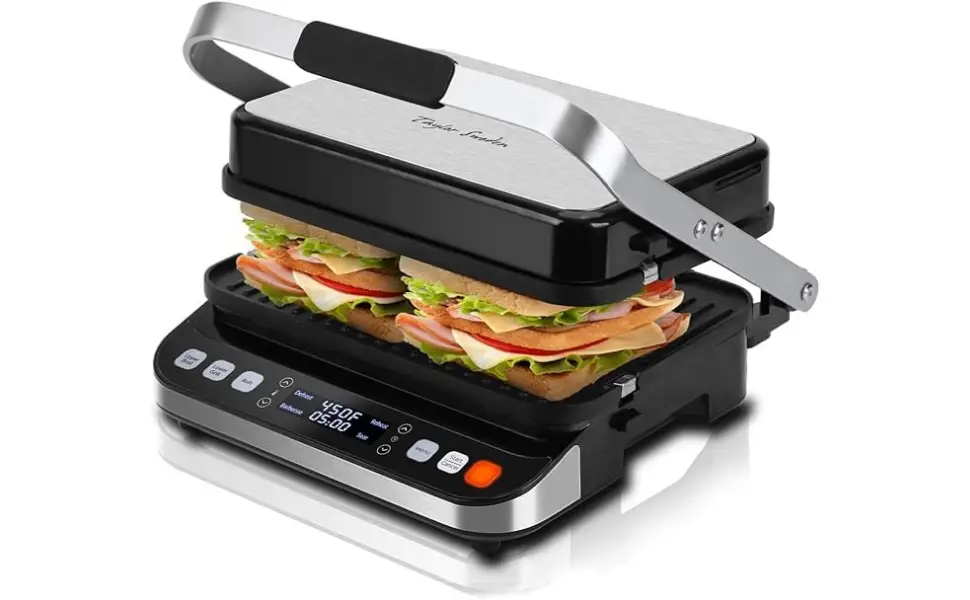
- Power : 1600 watts
- Features : Digital control panel, double-sided bakeware design, nonstick, independent temperature controls
- Pros : Extremely versatile, large grilling surface, LED touch screen
- Cons : Bulky design
- Best For : Large families or those who need multi-functionality
5. George Foreman Panini Press
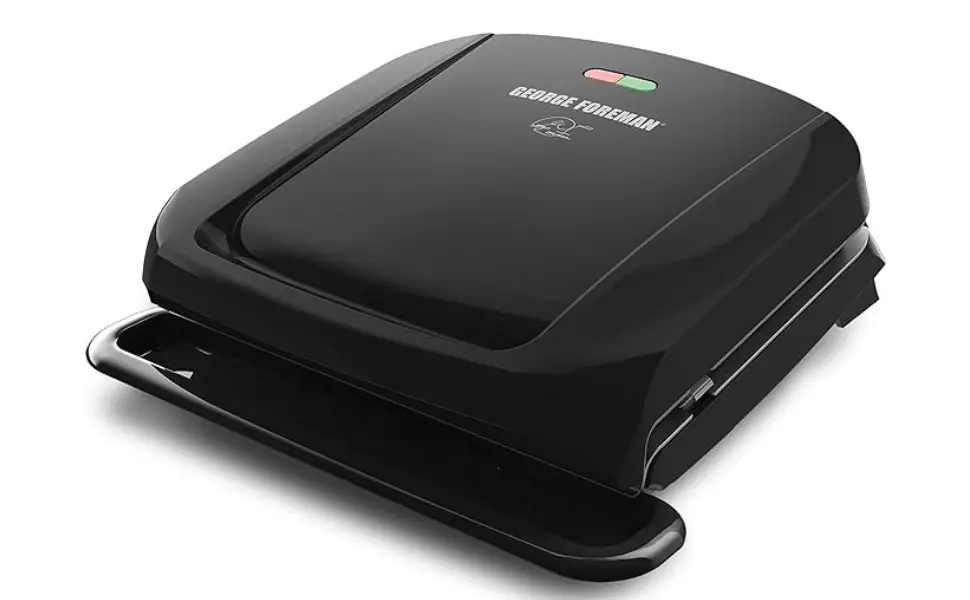
- Power: 35% faster heat-up time
- Features : Removable dishwasher-safe plates, advanced non-stick coating, grease-catching drip tray
- Pros: Fast preheating, easy to clean, compact design
- Cons: Limited space for cooking larger meals
- Best For : Quick and easy meals with minimal cleanup
Conclusion
A panini press is a great investment for anyone looking to upgrade their kitchen appliances. It offers incredible versatility, from making gourmet sandwiches to grilling vegetables or even cooking meats. By following the steps above, you’ll know exactly how to use and clean your panini press, ensuring it lasts for years to come. With so many options on the market, choosing the right panini press depends on your needs and cooking preferences. Whether you’re looking for a budget-friendly option like the Hamilton Beach model or a high-end, versatile appliance like the Taylor Swoden 10-in-1, there’s something for everyone.
Affiliate Disclosure
Some of the links in this post are affiliate links, meaning that if you click through and make a purchase, we may earn a small commission at no additional cost to you. This helps support our website and allows us to continue offering quality content to our readers.
